Step 1: Grant microphone access on your device
For Mac users:
- Navigate to System Settings.
- Click on Privacy & Security, then select Microphone.
- Enable Google Chrome by toggling it on.
- If prompted to restart your Chrome application, choose "Quit & Reopen." If you select "Later," ensure you restart the application to update your microphone permissions.
For Windows users:
- Open your Settings application.
- Click on Privacy & Security, then select Microphone.
- In the Microphone section, toggle on "Let desktop apps access your microphone."
Step 2: Grant microphone permissions to FlashInfo Dialer
- Visit the FlashInfo Dialer website (info.myflashcloud.com) on Chrome.
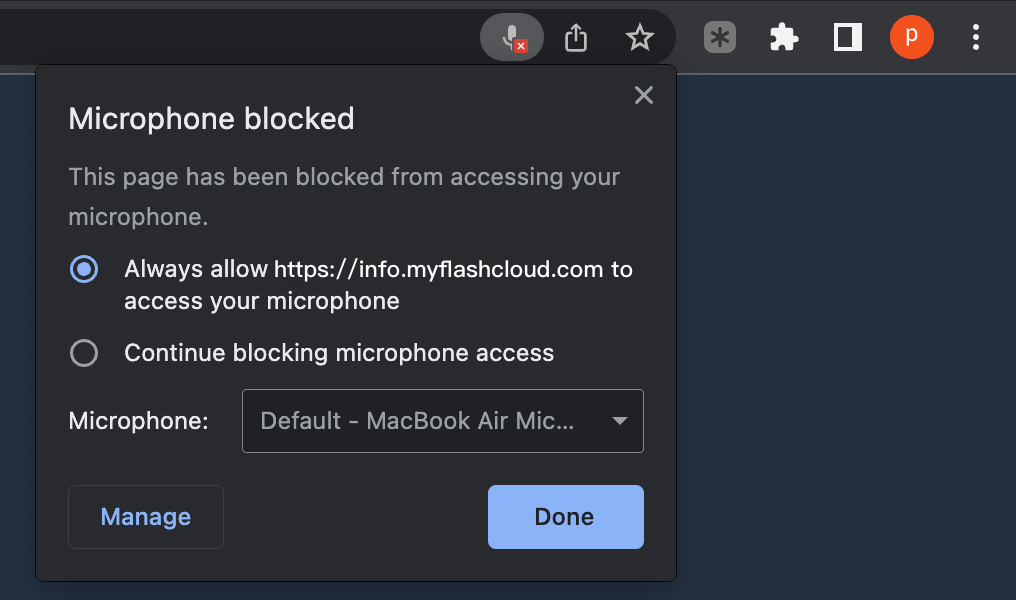
- Click the padlock icon in your browser's address bar, located to the left of the URL.
- In the drop-down menu, locate the "Microphone" option, and set it to "Allow." This will grant microphone access to the FlashInfo Dialer website.

Step 3: Update Chrome settings
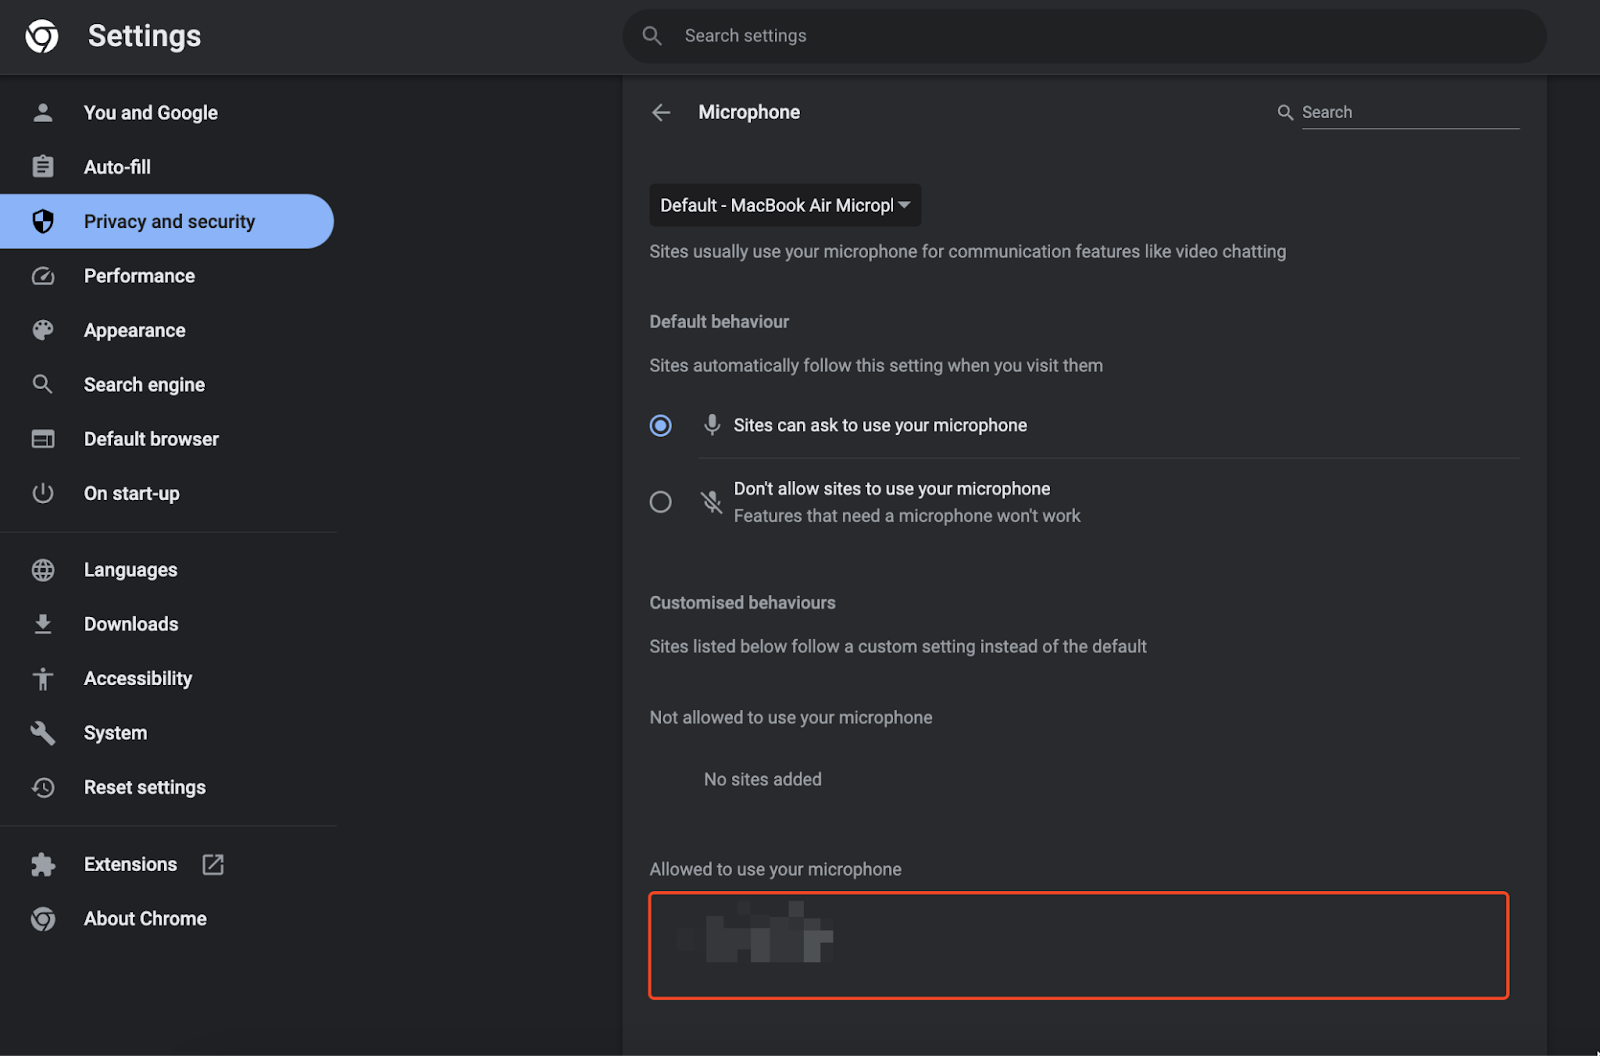
- Go to Chrome Settings.
- Navigate to Privacy and Security, then Site settings, followed by Microphone.
- Toggle on "Sites can ask to use your microphone."
- Under "Allowed to use your microphone," ensure the integration partner's domain (info.myflashcloud.com) is on the list. Your permissions will automatically update.
By following these steps, you should now have successfully enabled microphone permissions for FlashInfo Dialer on Chrome.